




Best Seller
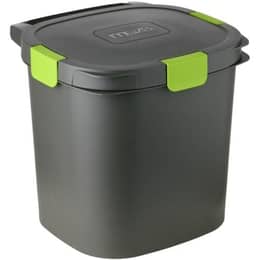
Bokashi Composter Confort
3.7-gallon (14-liter) capacity, sold individually or as a set of 2
$45.59 €40.83
Fast and odor-free, composting worms eat your food scraps and turn them into fertilizer for your plants.
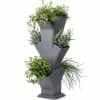
From 2 to 4 trays, with an optional planter.
Up to 18 growing areas around a central worm composter.
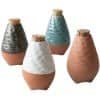
Terracotta, with a flower pot.
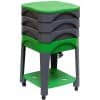
From 2 to 4 trays, with a lower shelf.
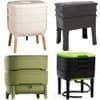
Trays you add over time for easy vermicompost harvesting.
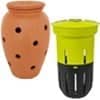
Turn your planters and flower beds into a worm composter: WORMacotta, In-Ground.
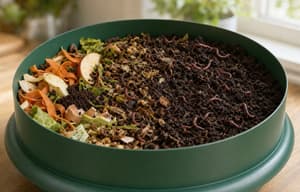 Practical guide

From kitchen to garden, composting becomes simple, fast, and effective for everyone.
 Practical guide
 Practical guide
Live animals (worms and bait) and products to feed and care for pets and livestock.

Eisenia composting worms for your worm composter or compost bin.
Ultra-fresh worms: red worms, Dendros, and Canadian nightcrawlers from 3.5 oz (100 g) to 2.2 lb (1 kg).

Natural solutions dedicated to the well-being of horses, ponies, and donkeys.

Optimize the health and performance of your farm.

Mealworms: natural, nutritious supplements.
Beautify your home with our decorative pieces and care for your house in a natural, sustainable way.
Garden the eco-friendly way, in harmony with nature, for healthy, long-lasting plants.
EM-based products designed to enrich soil, protect plants, support animal health, and make everyday well-being and home care easier.
Contains a blend of 80 families of beneficial microorganisms.

Revitalize, purify, and improve water quality in all your applications.

Stimulate soil microbial activity and plant growth.

Clean and care for your surroundings naturally.

For the well-being and health of pets, livestock, and horses.

Enrich your body care and dietary routines with essential enzymes.
 Practical guidePractical guide

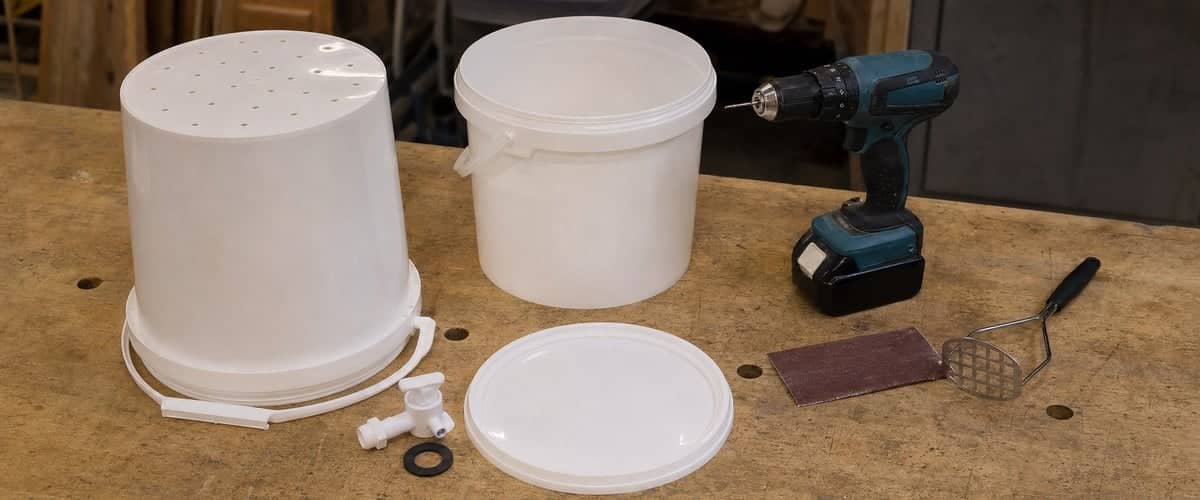
A bokashi bucket is nothing complicated: an airtight container, a perforated bottom that lets the liquid drain, and a space underneath to collect it. With two reclaimed buckets, a drill, and an hour to spare, you can make your own for just a few euros.
The DIY part is simple; the airtight seal, on the other hand, takes care. It's what makes the difference between a bucket that ferments cleanly and one that smells bad. Here's the step-by-step method, the pitfalls to avoid, and an honest comparison with a store-bought bucket.
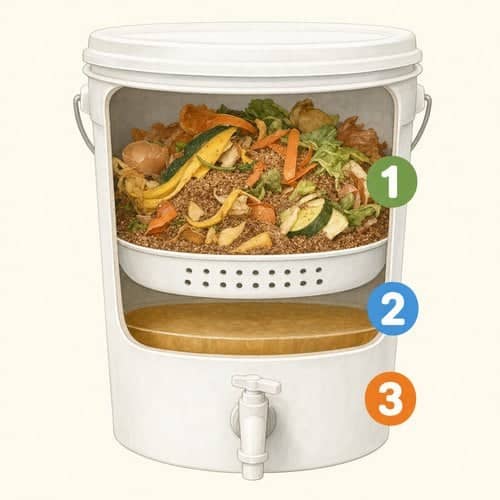 The classic setup uses two identical buckets, one slipped inside the other:
 the upper bucket, with holes in the bottom, holds the food scraps and the bran;
 the lower bucket, left intact, collects the liquid that drains through the holes;
 an airtight lid closes the whole thing.
As an option, a spigot installed at the bottom of the outer bucket lets you drain the liquid without taking anything apart. Just as with a store-bought model, ideally you'll need two sets: one fills up while the other ferments, as we explain in our guide Why use two bokashi buckets? In the diagram: the perforated upper bucket that holds the food scraps (1), the space where the liquid drains (2), and the drain spigot (3).
Two identical 2.6- to 5.3-gallon (10- to 20-liter) buckets that nest together well, with at least one lid that closes airtight, ideally with a gasket. Choose food-grade buckets (marked with the glass-and-fork symbol): bakeries, pizzerias, caterers, and restaurants often throw them out. Avoid buckets that have held paint, spackle, or chemicals. A drill with a 1/8 to 1/4 in (3 to 6 mm) bit, plus a utility knife or a hole saw if you're installing a spigot.
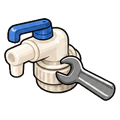 A plastic spigot (optional), with its gasket and nut: a spigot from a barrel, a water jug, or a boxed wine works perfectly well, as do the ones sold for home brewing.
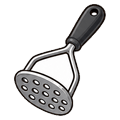 Something to press the scraps down: a potato masher, a pot lid smaller than the bucket, or a plastic plate.
 Sandpaper to smooth the edges of the holes.
As for size, figure on about 2.6 gallons (10 liters) for one or two people and 4 gallons (15 liters) for three or four: ideally, the bucket should fill up in about two weeks.
Turn the bucket that will hold the food scraps upside down and drill twenty to thirty 1/8 to 3/16 in (3 to 5 mm) holes, spread evenly across the whole bottom. There's no need to be very precise: tutorials range from about thirty small 1/8 in (3 mm) holes to about fifteen 1/4 to 5/16 in (6 to 8 mm) holes. The smaller the holes, the more you need, but the fewer scraps fall through. Two precautions:
don't drill too close to the edge or too close together: a bottom riddled with tightly spaced holes can crack;sand each hole smooth so no little bits of plastic are left hanging.Holes this size let the liquid through but hold back most of the scraps. To keep them from clogging, spread 0.4 in (1 cm) of rinsed fine gravel or lava rock (pozzolana), or half a sheet of crumpled newspaper, over the bottom before the first layer.
This is the most common pitfall. Many buckets are slightly tapered: once nested, the bottom of the upper bucket sits almost at the bottom of the lower one, leaving barely a fraction of an inch (a few millimeters) for the liquid. The liquid then backs up into the food scraps, which end up sitting in it and smelling bad.
Before drilling anything, nest your two buckets and measure the free space underneath. You need an inch or more (several centimeters), and more if you're installing a spigot. If there isn't enough, you have two options:
Emy's tipNest your empty buckets and pour water into the upper one before you start using them. You'll see right away whether the liquid drains properly, how much the lower compartment can hold, and whether the spigot leaks.
Without a spigot, you have to lift out the upper bucket to empty the liquid, which gets heavy and messy when it's full. A spigot makes draining much easier:
Choose its position as low as possible on the outer bucket, while leaving room for the nut on the inside and without keeping the bucket from sitting flat. Mark the spot with a marker.Cut a hole the diameter of the spigot's thread with a hole saw or a utility knife, working slowly: thin plastic cracks easily.Install the spigot with its gasket on the outside, then the nut on the inside, and tighten firmly without forcing it. Do a leak test: fill the bucket with water, with the spigot closed, and let it sit for an hour. Not a single drop should form around the fitting.
Remember to close the spigot after each draining: left open, it lets air in. If the spigot ends up a little high, tilt the bucket slightly to finish emptying it. For how often and how to drain, see our guide Looking after your bokashi.
Bokashi is an oxygen-free fermentation. A bucket that lets air in will produce colored mold and bad smells, no matter how good your bran is. Three areas need watching:
The lid: it must close tightly, ideally with a gasket. You can fix a poorly fitting lid by placing a clean cloth or plastic wrap over the bucket before snapping it shut.The joint between the two buckets: if air can get in between the two rims, it rises through the holes in the bottom. Wrap the joint with tape, or slip a cut bicycle inner tube around the rim of the lower bucket to act as a seal.The spigot, with its gasket tightened well, and always kept closed.Inside, also limit the air in contact with the food scraps: after each addition, sprinkle on the bran, press down, then lay a plate or a smaller lid flat on the surface. You can add a clean weight on top, such as a jar filled with water.
Key takeawaysA successful homemade bucket means a perforated bottom that drains well, a real liquid compartment, and a careful seal at the lid, the joint between the buckets, and the spigot. Test it with water before using it.
A clever variation, very popular in DIY workshops, uses three small 1.3-gallon (5-liter) food-grade buckets with lids:
This format is compact and well suited to one person or a small apartment. The trade-off is that it fills up quickly: plan on two sets, or empty it more often.
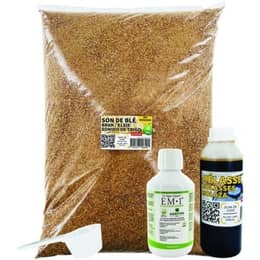
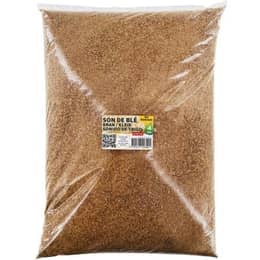
To compare models in detail, see our guide How to choose your bokashi composter. And whatever bucket you use, fermentation depends first and foremost on good bran: you can use our Bokashi EM compost activator or make your own with our guide Making your own homemade bokashi activator.
A homemade bokashi bucket is made from two identical food-grade buckets: the upper one, drilled with twenty to thirty 1/8 to 3/16 in (3 to 5 mm) holes, holds the food scraps; the lower one collects the liquid, optionally through a spigot installed as low as possible. Make sure there's an inch or more (several centimeters) of space left for the liquid, adding a spacer if needed, and take care with the seal at the lid, the joint, and the spigot, then test it with water. It's inexpensive and effective; a store-bought bucket mainly offers convenience, a neater look, and a seal already designed for the job.
Scan the code or visit mouttafarm.com/guide: all our how-to guides, with links to the products mentioned.




 France
 Belgium
 Switzerland
 Germany
 Austria
 United Kingdom
 Italy
 Spain
 Holland
 Portugal
 Ireland
 Sweden
 Finland
 Denmark
 Greece
 Poland
 Rumania
 Czech Republic