


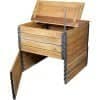



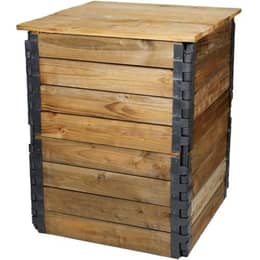
Compostys wooden composter | 305 liters
PEFC-certified spruce wood
$129.32 €115.83
Fast and odor-free, composting worms eat your food scraps and turn them into fertilizer for your plants.
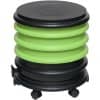
From 2 to 4 trays, with an optional planter.
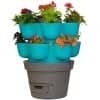
Up to 18 growing areas around a central worm composter.
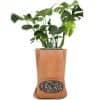
Terracotta, with a flower pot.
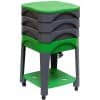
From 2 to 4 trays, with a lower shelf.
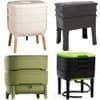
Trays you add over time for easy vermicompost harvesting.
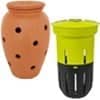
Turn your planters and flower beds into a worm composter: WORMacotta, In-Ground.
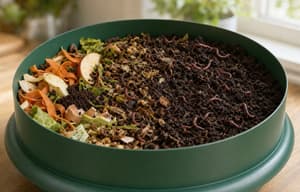 Practical guide
From kitchen to garden, composting becomes simple, fast, and effective for everyone.
 Practical guide
 Practical guide
Live animals (worms and bait) and products to feed and care for pets and livestock.

Eisenia composting worms for your worm composter or compost bin.
Ultra-fresh worms: red worms, Dendros, and Canadian nightcrawlers from 3.5 oz (100 g) to 2.2 lb (1 kg).

Natural solutions dedicated to the well-being of horses, ponies, and donkeys.

Optimize the health and performance of your farm.

Mealworms: natural, nutritious supplements.
Beautify your home with our decorative pieces and care for your house in a natural, sustainable way.
Garden the eco-friendly way, in harmony with nature, for healthy, long-lasting plants.
EM-based products designed to enrich soil, protect plants, support animal health, and make everyday well-being and home care easier.

Contains a blend of 80 families of beneficial microorganisms.

Revitalize, purify, and improve water quality in all your applications.

Stimulate soil microbial activity and plant growth.

Clean and care for your surroundings naturally.

For the well-being and health of pets, livestock, and horses.

Enrich your body care and dietary routines with essential enzymes.
 Practical guidePractical guide

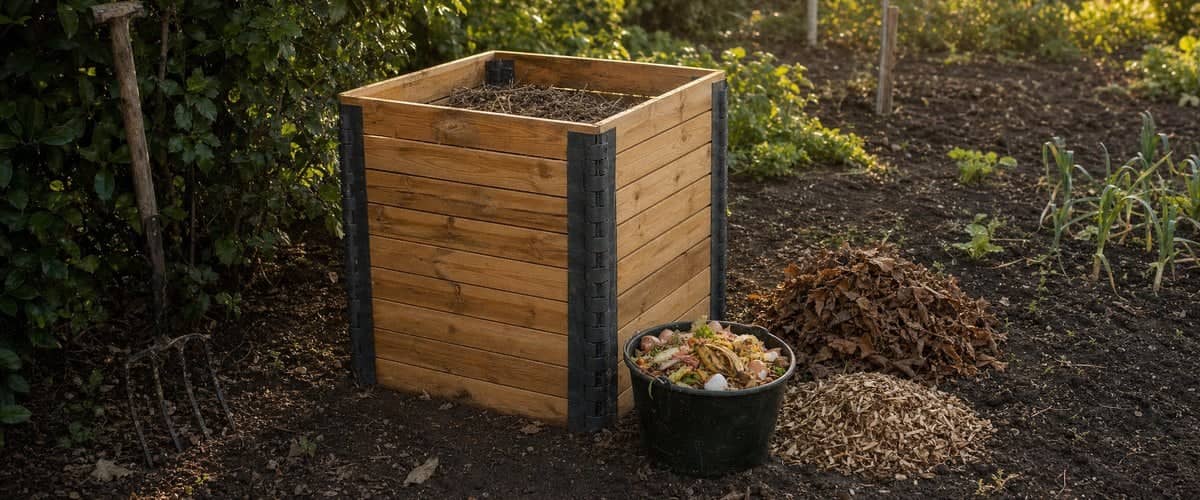
Did you just get your compost bin, or are you still on the fence about getting started? Good news: starting a compost pile takes no special skills and no miracle product. A few smart choices at the outset (the timing, the location, the first layer) and two simple habits are all it takes to set yourself up for success.
Here's how to get your backyard compost bin going, step by step, and what to expect in the first few weeks.
You can start composting any time of year, but we recommend spring or fall. These are the two seasons when your yard provides the most material: grass clippings and the first prunings in spring, dead leaves and vegetable garden waste in fall. Mild temperatures also help microorganisms get to work quickly.
You can still start in the dead of winter: decomposition will simply be very slow until warmer weather arrives. In the height of summer, keep a close eye on moisture, since young compost dries out quickly.
Location matters more than which compost bin you choose. Keep a few simple rules in mind to place it well:
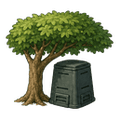 In partial shade: in full sun, the compost dries out; in deep, damp shade, it can get waterlogged.
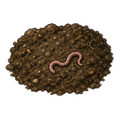 Directly on the soil, with no paver or tarp underneath, so excess water can drain away and earthworms and other small soil creatures can move up into it.
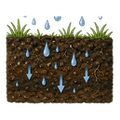 On well-drained ground, avoiding low spots where water pools after rain.
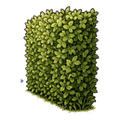 Sheltered from the wind, which dries out the surface.
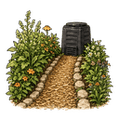 Easy to reach year-round, along a path you can use even in wet weather: a compost bin that's too far from the kitchen is a compost bin that gets neglected in winter.
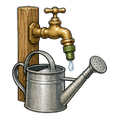 Not too far from a water source, so you can moisten it in summer.
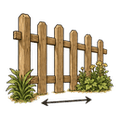 Away from the property line, as a simple courtesy to your neighbors.
Also leave a little space around the bin so you can move around, turn the compost, and later harvest it with a wheelbarrow.
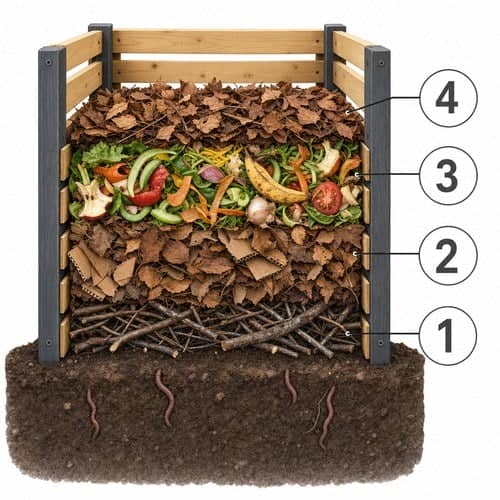 Before adding food scraps for the first time, lay down a layer of twigs, small cut branches, or wood chips at the bottom of the compost bin. Plan on about 2 in (5 cm) in a bin and 4 in (10 cm) for an open compost pile. This coarse layer acts as drainage: it lets air circulate from underneath and keeps the first scraps, which are often wet, from compacting against the soil. The diagram shows the order of the layers: twigs at the bottom (1), a layer of brown material (2), food scraps (3), and a thin layer of brown to cover them (4).
If you have a little finished compost or good garden soil on hand, you can sprinkle one or two shovelfuls on top. It isn't essential, since microorganisms are already present on your scraps, but it can help get things going. We cover compost activators in a separate guide.
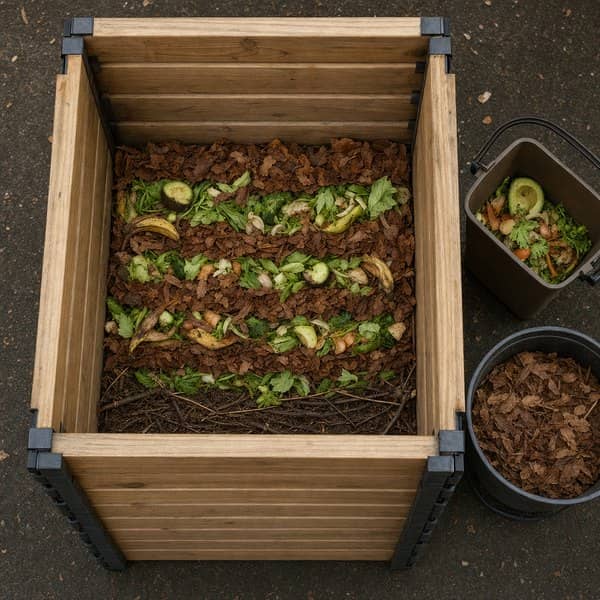
The secret to compost that gets off to a good start is the mix. There are two kinds of material:
Aim for roughly half moist scraps and half dry material. In practice, every time you empty your kitchen compost pail, add an equal volume of dry material on top, then mix it lightly into the layer below, to a depth of about 8 in (20 cm). Fresh scraps covered this way attract fewer flies and don't smell. The details of this balance, and how to fix it, are explained in our guide Green and brown materials.
Also remember to cut or break up large pieces (cabbage cores, thick stems, cardboard): the smaller the pieces, the faster microorganisms break them down. For a list of what can go in the compost, see our guide What to put in your compost bin.
Key takeawaysA bucket of green, a bucket of brown, a quick turn with the fork: that's the whole routine for compost that gets off to a good start.
The most common problem for beginners isn't too many scraps, it's running out of brown material right when you need it. Food scraps come in all year long, while dead leaves only fall in the fall. The solution: build up a stockpile.
In the fall, fill a few large bags with dead leaves or keep a pile of wood chips next to the compost bin. A burlap sack, an old trash can with holes drilled in it, or a small wooden box will do the job nicely, as long as the supply stays fairly dry. In the city, plain brown cardboard, egg cartons, and paper towel tubes can fill in.
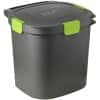
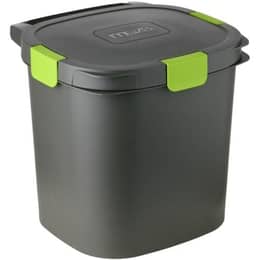
To avoid running out to the yard with every peel, keep a small lidded container in the kitchen. A 1.6–2.4 gallon (6–9 liter) kitchen compost pail with a tight-fitting lid works for most households. Our Urbalive 6L Compost Bin, for example, fits easily on a countertop.
Empty it as soon as it's full, and at least twice a week in summer, when scraps ferment faster. A layer of newspaper or paper towel at the bottom soaks up the liquid and composts along with everything else. Rinse the pail with clean water from time to time.
Willy's tipToss a handful of dry leaves or torn cardboard into the bottom of your kitchen compost pail: that way you empty your green and a little brown in one go, and the pail stays much cleaner.
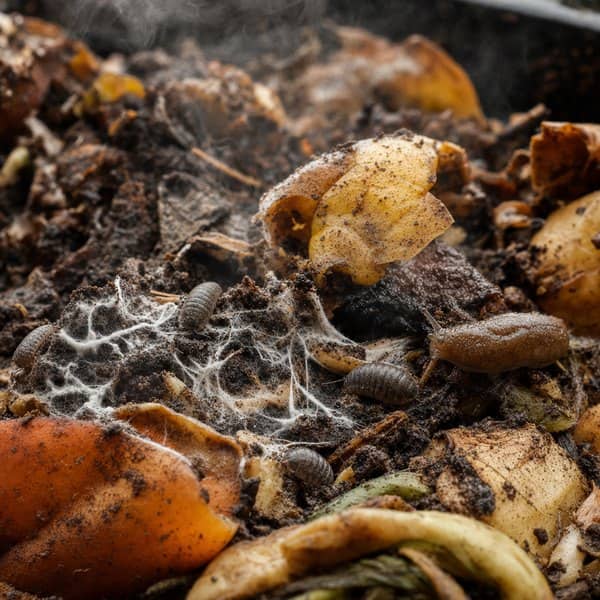
For the first few days, not much happens that you can see. Then, after a few weeks, you'll notice the volume going down: the scraps settle and decompose. If you started with a large volume, you may feel a little warmth in the center; in a small bin filled gradually, the temperature often stays close to the air temperature, and that's normal.
You'll also see new residents moving in: sow bugs, millipedes, small insects, and then red worms. These are allies that break up and mix the material. Compost that smells like nothing, or like a forest floor, is healthy compost. If it smells like rotten eggs or ammonia, it's short on air or brown material: add dry material and turn it.
About once a month, turn it more thoroughly, with a fork or an aerator such as our Brass'Compost, and check the moisture: a squeezed handful of compost should release a few drops, without dripping. Our guide Moisture and aeration explains these steps in detail.
As for timing, be patient: four to five months in a bin is often quoted for ready-to-use compost, but we suggest planning on more like four to nine months, depending on the season and upkeep. If you don't have a yard, there are other methods: a worm composter or bokashi, which ferments food scraps before they go into a compost.
To get your compost bin off to a good start, place it in partial shade, directly on the soil, in an easy-to-reach, well-drained spot, ideally in spring or fall. Lay down a layer of twigs at the bottom, then alternate food scraps and dry material with each addition, mixing lightly. Keep a supply of brown material next to the bin and a lidded pail in the kitchen. Then let time do its work: a few tasks each month and a few months of patience are all it takes.
Scan the code or visit mouttafarm.com/guide: all our how-to guides, with links to the products mentioned.



 France
 Belgium
 Switzerland
 Germany
 Austria
 United Kingdom
 Italy
 Spain
 Holland
 Portugal
 Ireland
 Sweden
 Finland
 Denmark
 Greece
 Poland
 Rumania
 Czech Republic