
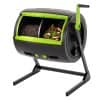



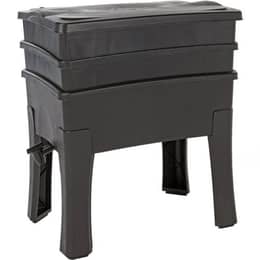
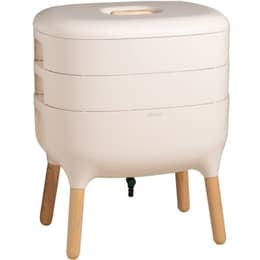
Worm Café Worm Composter | 2 trays
2 or 3 trays, 3.7 gallons (14 liters) usable per tray
$73.95 €65.83
Fast and odor-free, composting worms eat your food scraps and turn them into fertilizer for your plants.
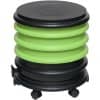
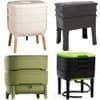
From 2 to 4 trays, with an optional planter.
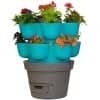
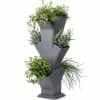
Up to 18 growing areas around a central worm composter.
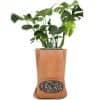
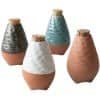
Terracotta, with a flower pot.
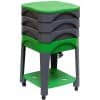
From 2 to 4 trays, with a lower shelf.
Trays you add over time for easy vermicompost harvesting.
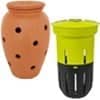
Turn your planters and flower beds into a worm composter: WORMacotta, In-Ground.
From kitchen to garden, composting becomes simple, fast, and effective for everyone.
Live animals (worms and bait) and products to feed and care for pets and livestock.
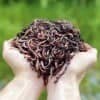
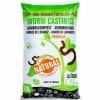
Eisenia composting worms for your worm composter or compost bin.
Ultra-fresh worms: red worms, Dendros, and Canadian nightcrawlers from 3.5 oz (100 g) to 2.2 lb (1 kg).

Natural solutions dedicated to the well-being of horses, ponies, and donkeys.

Optimize the health and performance of your farm.

Mealworms: natural, nutritious supplements.
Beautify your home with our decorative pieces and care for your house in a natural, sustainable way.
Garden the eco-friendly way, in harmony with nature, for healthy, long-lasting plants.
EM-based products designed to enrich soil, protect plants, support animal health, and make everyday well-being and home care easier.
Contains a blend of 80 families of beneficial microorganisms.

Revitalize, purify, and improve water quality in all your applications.

Stimulate soil microbial activity and plant growth.

Clean and care for your surroundings naturally.

For the well-being and health of pets, livestock, and horses.

Enrich your body care and dietary routines with essential enzymes.
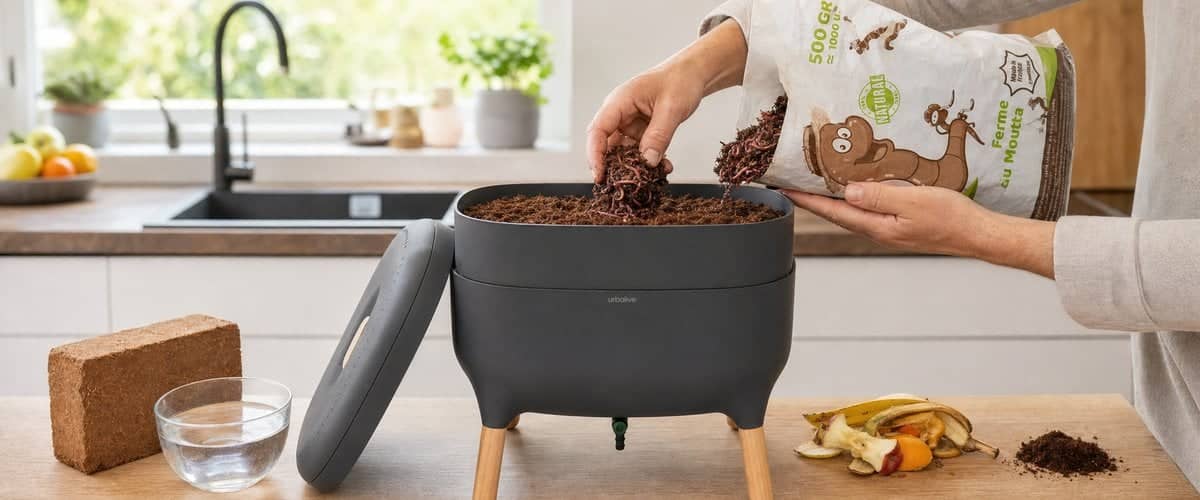
Getting your worm composter off to a good start gives it the best possible chance of success. Location, bedding, and patience in the first few days: here is everything you need to know for a successful start.
Composting worms work efficiently between 59 and 77 °F (15–25 °C). Below 59 °F (15 °C), their activity slows down. Below 41 °F (5 °C), they go dormant and stop breaking down material. Extreme temperatures — below 32 °F (0 °C) or above 113 °F (45 °C) — can be fatal to them. Your worm composter can be placed indoors (laundry room, stairwell, hallway, living room) or outdoors, depending on the space you have available. However, you may sometimes need to move it with the seasons to keep conditions right. We cover protection from cold and heat in a dedicated guide.
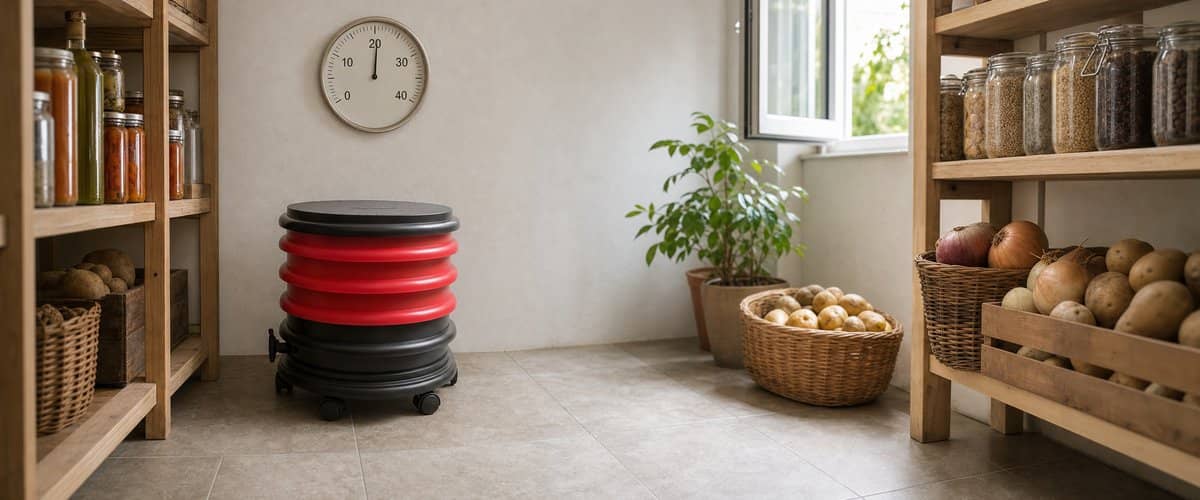
If you set it up outdoors, keep it out of direct sunlight (avoid a south-facing spot). Also protect it from rain, which can get in through the ventilation holes in the lid, raise the moisture level too quickly, and drown your worms. Finally, make sure there is good air circulation in the room where it is kept: decomposition needs oxygen to work properly.
The bedding is your worms' living space at the start — and their first source of food. It needs to stay light so that it is well aerated, while still holding the moisture the worms need to survive.
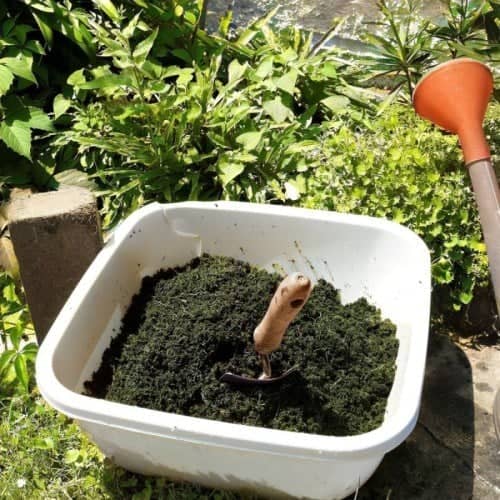 If your worm composter comes with coconut fiber bedding, soak it in at least half a gallon (2 liters) of lukewarm water for 15 minutes, until it breaks apart. Crumble any pieces that are still compact and mix to get an even texture that is as damp as a wrung-out sponge but not soaking wet. Pour half of it into the first tray so that the tray is half full, and set the other half aside: you will use it later as a source of carbon-rich material.
You can also make your own bedding from cardboard — for example, the box your worm composter came in. Cut it into small pieces of 0.8 to 2 in (2–5 cm) and fill half of your tray. Then spray it with water until you get the same wrung-out sponge texture.
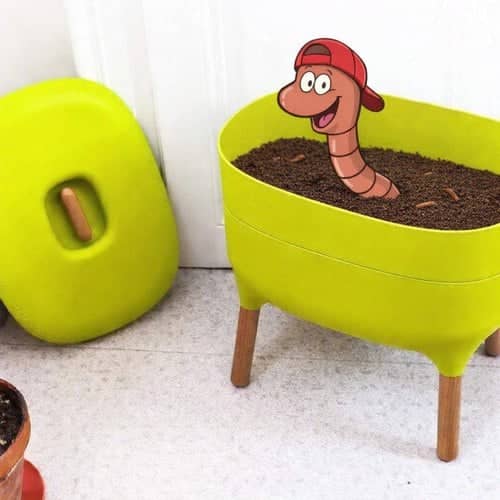 First, place a piece of cardboard cut to the shape of the tray in the bottom of the first tray. This keeps the bedding from falling into the leachate tray. Add the damp bedding on top, filling the tray halfway, then gently pour in your worms. Leave the worm composter open, without its lid, for about ten minutes. Worms are sensitive to light, so they will naturally burrow down into the bedding.
We recommend adding a handful of coffee grounds and a few fruit peels right from the start. Worms love sugar, and coffee grounds help counteract heavily chlorinated water. Then wait about a week before adding any more food scraps, to give your worms time to get used to their new surroundings. Don't worry: they won't starve. The bedding and the material the worms were shipped in already provide them with food during this settling-in period.
Willy's tipThe most common beginner mistake is overfeeding the worm composter right from the start. Worms eat about half their body weight a day, so check whether they have finished the last food scraps you added before giving them more.
Once the first week has passed, you can start feeding your worms — gradually. Start with a small amount, about a handful of scraps spread over the surface of the bedding, rather than putting it all in one spot. Before each new feeding, check how the previous one is doing. If the scraps have disappeared or are well on their way, you can add a little more next time. If there is still a lot left, wait a few more days before adding more.
The worm population grows over the months, so you will be able to increase the amount of food scraps accordingly, almost naturally. It is better to slightly underfeed at the start than to overload the bin with too many fresh scraps. Excess scraps could cause the bedding to ferment and become unbalanced before the worm population has had time to catch up. It is normal for a worm composter to get going slowly: it picks up speed over several weeks, not a few days. Worms generally reach their full population after 5 to 7 months, depending on the size of your worm composter.
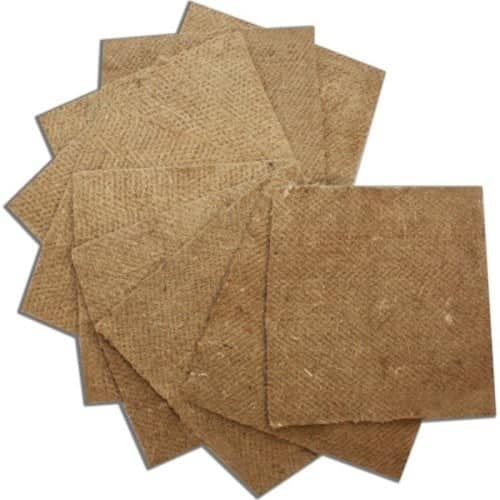 The moisture mat sits under the lid, directly on top of the freshest scraps, and serves two practical purposes. First, it keeps the surface moist while letting air circulate — giving the worms the feeling of being just below the soil surface, as in nature. Second, it limits fruit flies' access to the fresh scraps. There is no need to dampen it at the start: it naturally absorbs moisture from contact with the scraps.
Several materials work well. Plain brown cardboard is free and easy to cut to the size of the tray, but it needs replacing often. Hemp fiber, often included with store-bought worm composters, should be changed every two to three months. Burlap lasts longer. You can also use an old cotton fabric (a rag, a T-shirt), as long as it contains no detergent or synthetic products. Once the mat has broken down well, you can crumble it and mix it into the scraps, where it will act as a source of carbon-rich material.
Did you know?A moisture mat is really just a miniature layer of forest-floor litter: it makes the worms believe they are still just below the surface, where they feel most at home.
Your worm composter is ready to get going. To find out exactly what to feed it — and what is best avoided — head to our guide What do earthworms eat?. If you don't have your worms yet, first read our guide Which type of worms should you use in your worm composter?

 France
 Belgium
 Switzerland
 Germany
 United Kingdom
 Italy
 Spain
 Holland
 Portugal
 Ireland
 Sweden
 Finland
 Denmark
 Greece
 Poland
 Rumania
 Czech Republic