



Best Seller
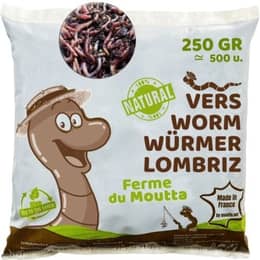
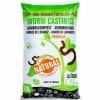
Eisenia composting worms | 250 g of worms (approx. 500 ct.)
Packs from 8.8 oz (250 g) to 22 lb (10 kg) of worms
$15.24 €13.57
-25%
Fast and odor-free, composting worms eat your food scraps and turn them into fertilizer for your plants.
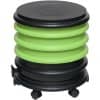
From 2 to 4 trays, with an optional planter.
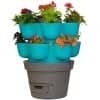
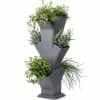
Up to 18 growing areas around a central worm composter.
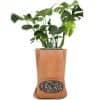
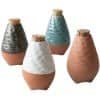
Terracotta, with a flower pot.
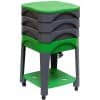
From 2 to 4 trays, with a lower shelf.
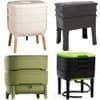
Trays you add over time for easy vermicompost harvesting.
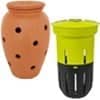
Turn your planters and flower beds into a worm composter: WORMacotta, In-Ground.
From kitchen to garden, composting becomes simple, fast, and effective for everyone.
Live animals (worms and bait) and products to feed and care for pets and livestock.
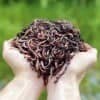
Eisenia composting worms for your worm composter or compost bin.
Ultra-fresh worms: red worms, Dendros, and Canadian nightcrawlers from 3.5 oz (100 g) to 2.2 lb (1 kg).

Natural solutions dedicated to the well-being of horses, ponies, and donkeys.

Optimize the health and performance of your farm.
Mealworms: natural, nutritious supplements.
Beautify your home with our decorative pieces and care for your house in a natural, sustainable way.
Garden the eco-friendly way, in harmony with nature, for healthy, long-lasting plants.
EM-based products designed to enrich soil, protect plants, support animal health, and make everyday well-being and home care easier.
Contains a blend of 80 families of beneficial microorganisms.

Revitalize, purify, and improve water quality in all your applications.

Stimulate soil microbial activity and plant growth.

Clean and care for your surroundings naturally.

For the well-being and health of pets, livestock, and horses.

Enrich your body care and dietary routines with essential enzymes.
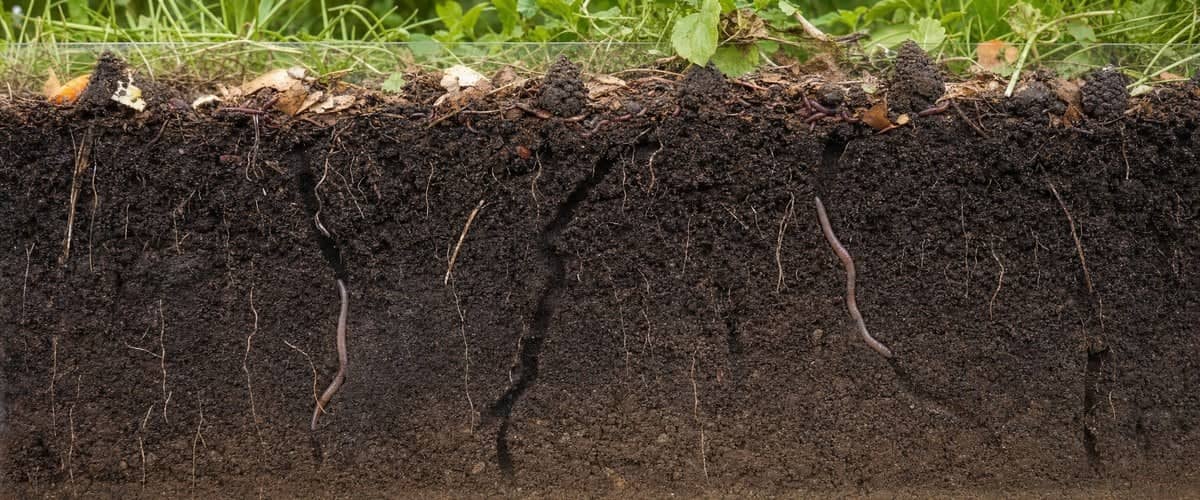
Earthworms are becoming increasingly rare in yards and gardens, killed outright by chemical weed killers and fertilizers — even though they play a major role in fertilizing and regenerating the soil, transforming organic matter so plants can absorb it. Before household trash collection became widespread, every home composted its scraps at the back of the yard, naturally sustaining this population. For nearly 15 years, Moutta Farm has been helping individuals and professionals recolonize soils that have become poor in worms.
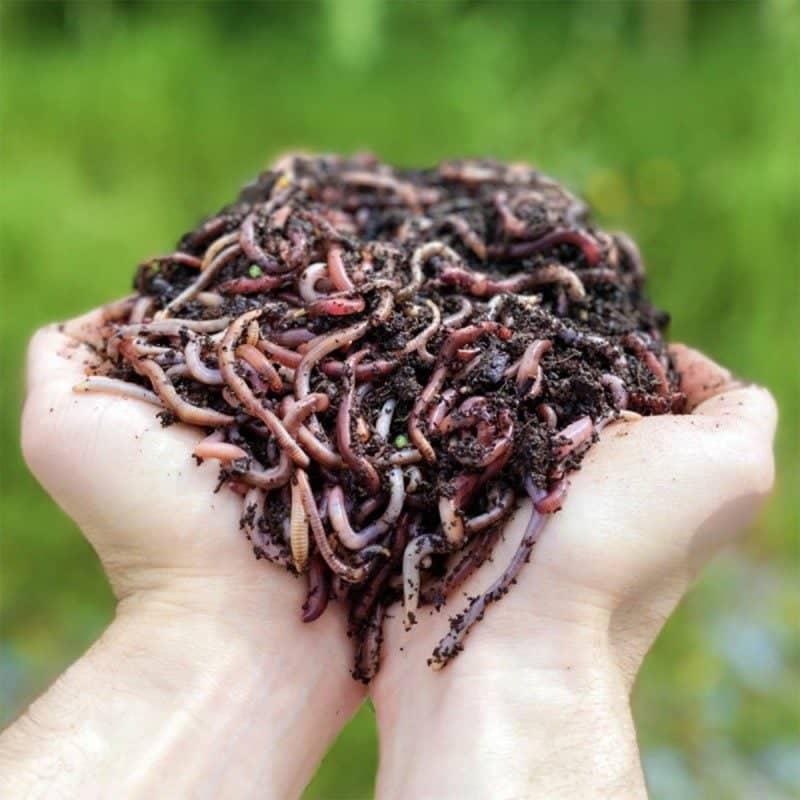 Only epigeic worms — Eisenia composting worms — can be raised and sold for this purpose. Their job is to transform organic matter by mineralizing it, so your plants can absorb it easily. In practice, though, their presence attracts a second type: endogeic worms, which aerate the soil by digging burrows between the deeper layers and the surface. They improve drainage during heavy rain and bring up the minerals your plants need through their castings — those little cone-shaped mounds you can see on the surface.
Our worms are specially selected for reintroduction into open ground: a species that withstands temperature swings, heat, and drought. Our customers tell us so all the time: a few months after introducing them, they find far more worms in their yard than before.
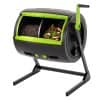
If you already have an outdoor composter, there's one simple requirement: it must be bottomless, so the worms are in direct contact with the soil. Add 1.7 to 3.4 lb of worms per cubic yard (1 to 2 kg per m³): the population then doubles every 3 to 4 months. The worms gradually colonize the soil all around each composting spot. For a large yard or vegetable garden, set up several spots spaced about 50 ft (15 m) apart rather than a single one, so the whole area is covered.
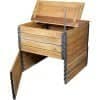
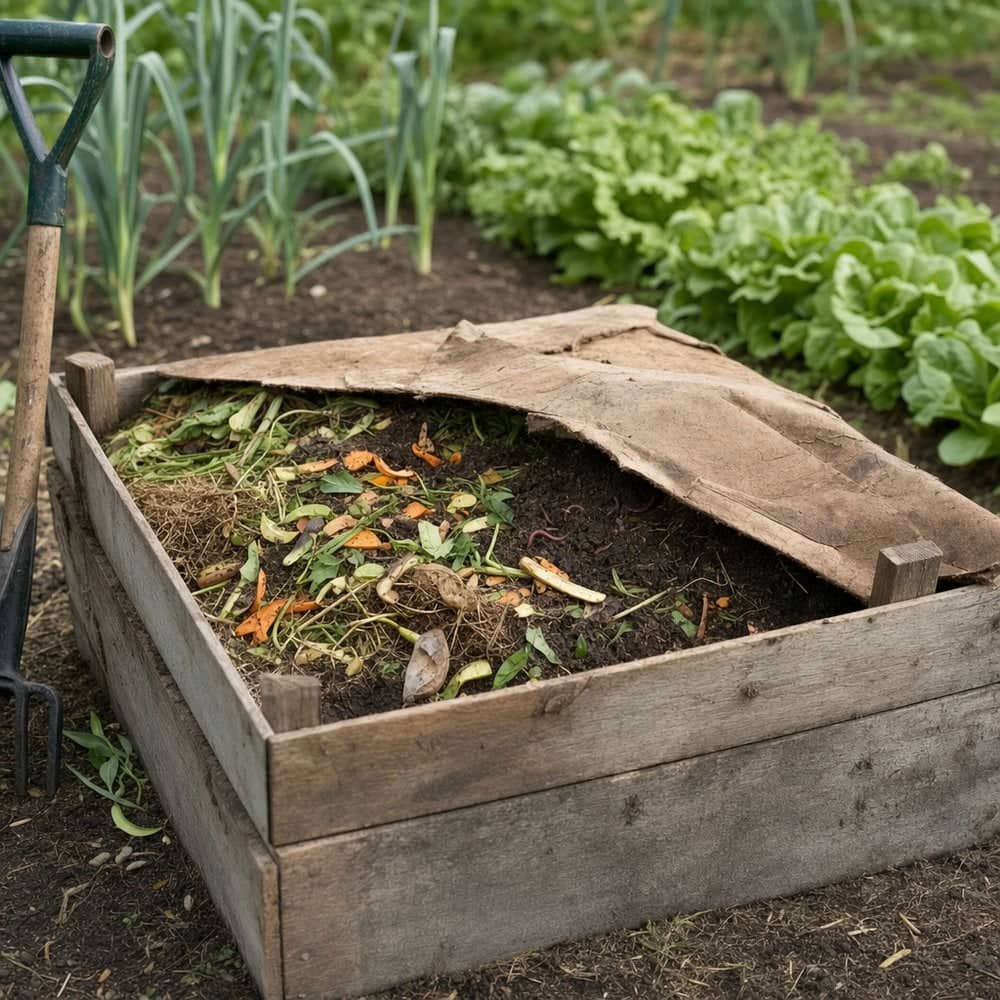 No composter? A simple bottomless wooden frame works perfectly well — reclaimed boards will do, for a square of at least 10.8 sq ft (1 m²) and 20 to 24 in (50 to 60 cm) high. Line the bottom with a 7.9 in (20 cm) layer of starter bedding (a blend of peats), pre-moistened at a rate of 2.6 gallons (10 L) of water per 13.2 gallons (50 L) of bedding — mix it by hand in a tub for an even result. Add your worms (at least 2.2 lb per 10.8 sq ft, or 1 kg per m²), then cover with a nice thick layer of fresh organic matter: food scraps, manure, fresh grass clippings... If your frame doesn't have a lid, an old tarp or some cardboard is enough to retain moisture and shield the worms from light, which they're sensitive to.
Willy's tipPlace your frame wherever you like in the yard: the worms will colonize the rest of the ground on their own, starting from this spot. Just keep adding fresh material regularly to sustain the population — with each breeding cycle, some of the worms move on to new areas where they can find food.
Third option: an in-ground worm composter, installed directly in a flower bed or raised vegetable bed. We explain how it works and present our models in the dedicated guide.
While you're at it, check the acidity of your lawn or vegetable garden. An overly acidic lawn is less able to resist moss and weeds: a thicker, healthier lawn simply leaves them less room to take hold.
An existing outdoor composter, a homemade composting spot, or an in-ground worm composter: several simple solutions let you reintroduce worms into your garden for the long term, for livelier soil and healthier plants.

 France
 Belgium
 Switzerland
 Germany
 United Kingdom
 Italy
 Spain
 Holland
 Portugal
 Ireland
 Sweden
 Finland
 Denmark
 Greece
 Poland
 Rumania
 Czech Republic