

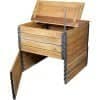



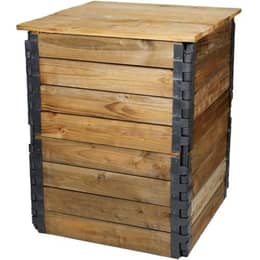
Compostys wooden composter | 305 liters
PEFC-certified spruce wood
$129.32 €115.83
Fast and odor-free, composting worms eat your food scraps and turn them into fertilizer for your plants.
From 2 to 4 trays, with an optional planter.
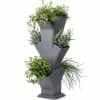
Up to 18 growing areas around a central worm composter.
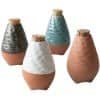
Terracotta, with a flower pot.
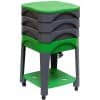
From 2 to 4 trays, with a lower shelf.
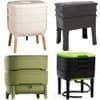
Trays you add over time for easy vermicompost harvesting.
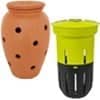
Turn your planters and flower beds into a worm composter: WORMacotta, In-Ground.
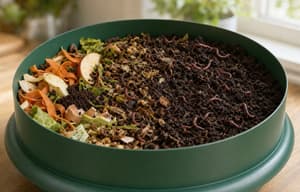 Practical guide
From kitchen to garden, composting becomes simple, fast, and effective for everyone.
 Practical guide
 Practical guide
Live animals (worms and bait) and products to feed and care for pets and livestock.

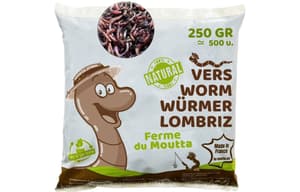
Eisenia composting worms for your worm composter or compost bin.
Ultra-fresh worms: red worms, Dendros, and Canadian nightcrawlers from 3.5 oz (100 g) to 2.2 lb (1 kg).

Natural solutions dedicated to the well-being of horses, ponies, and donkeys.

Optimize the health and performance of your farm.

Mealworms: natural, nutritious supplements.
Beautify your home with our decorative pieces and care for your house in a natural, sustainable way.
Garden the eco-friendly way, in harmony with nature, for healthy, long-lasting plants.
EM-based products designed to enrich soil, protect plants, support animal health, and make everyday well-being and home care easier.

Contains a blend of 80 families of beneficial microorganisms.

Revitalize, purify, and improve water quality in all your applications.

Stimulate soil microbial activity and plant growth.

Clean and care for your surroundings naturally.

For the well-being and health of pets, livestock, and horses.

Enrich your body care and dietary routines with essential enzymes.
 Practical guidePractical guide

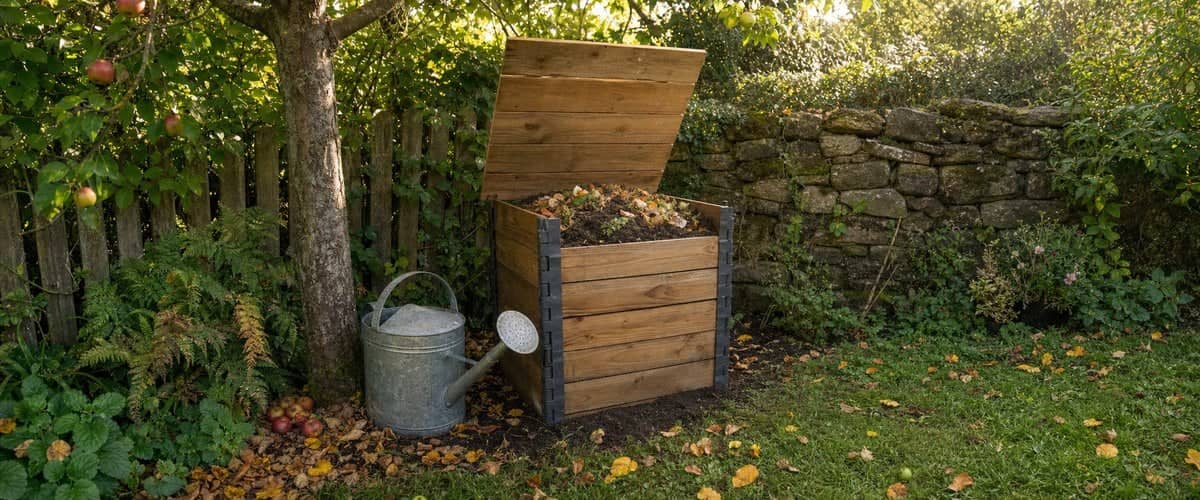
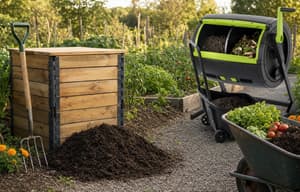
There's something reassuring about a wooden compost bin: it blends into the yard, it ages right along with it, and it brings to mind the old compost bays of vegetable gardens from years gone by. It's also an excellent tool, as long as you choose it well, install it properly, and give it a little care.
Here's what you need to know before buying a wooden compost bin, along with a few simple habits that will help it last for many years.
Wood has two qualities that matter a great deal for compost.
Wooden compost bins are generally made of slats fitted together, with small gaps between them. Air circulates through the sides, which helps keep the compost alive and reduces the risk of compaction and bad smells. The wood also absorbs some of the excess moisture, then releases it when the weather turns dry.
Wood is a naturally insulating material. Thick walls give the compost some protection from the cold in winter and from intense heat in summer, better than a thin wall would. That way, the microorganisms can work in steadier conditions.
On top of that, there's the matter of looks: a wooden bin fits easily into a vegetable garden or at the back of the yard, where a plastic bin would stand out more.
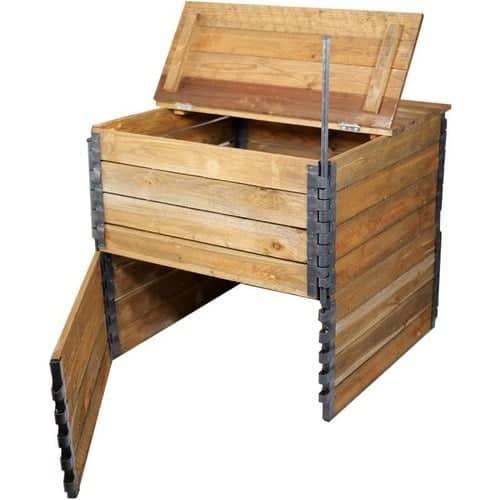 The right size depends on the size of your household and, above all, on the size of your yard: a household that only composts its food scraps doesn't need the same bin as a family that also adds grass clippings and fallen leaves. We've gathered all the guidelines in our guide What size compost bin for my household?
Just keep in mind that a bin that's a little too big is better than one that's already overflowing by April. And if your needs go beyond about 264 gallons (1,000 liters), it's better to set up two bins rather than one very large one: the first takes the fresh scraps, the second holds the maturing compost. With wooden models, this is all the easier since they line up neatly side by side.
Most wooden compost bins go together with few or no tools, simply by slotting the slats into one another. Assemble it right where you want it, on reasonably level ground, and check that the sides are plumb: a lopsided bin will eventually come apart under the weight of the compost. Depending on the model, a hatch or removable front slats let you harvest compost from the bottom without taking everything apart.
Choose a spot in partial shade, sheltered from the wind, well drained, and accessible year-round. Avoid pushing the bin right up against a fence or wall: leave a foot or so (about 30 cm) all around so that air can circulate, the wood can dry out after rain, and you can easily turn and harvest the compost. Our guide Starting your compost bin step by step covers choosing the location and the first additions in detail.
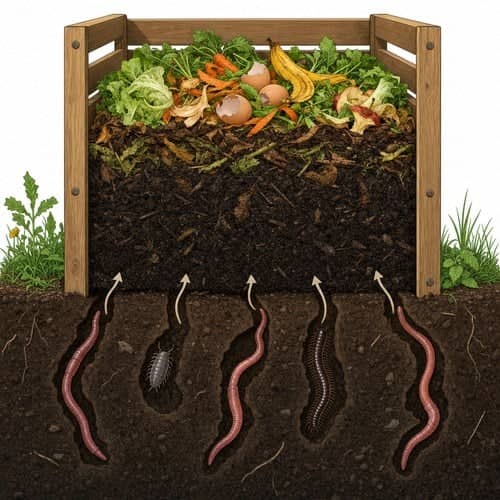 A wooden compost bin should always sit directly on the soil, with no bottom. This direct contact with the ground is essential, for two reasons.
So you don't need to buy worms for your backyard compost bin: the ones in the soil will show up on their own, all the faster if your soil is full of life. We explain their role in our guide The role of earthworms. If your soil is short on them, for example in a new yard, our guide Reintroducing earthworms into your garden lays out several simple methods.
Did you know?The red worms you find in abundance in a compost bin aren't “ordinary” earthworms: they're surface-dwelling worms that live in decomposing matter. They appear spontaneously in a bin sitting on the soil, usually after a few months.
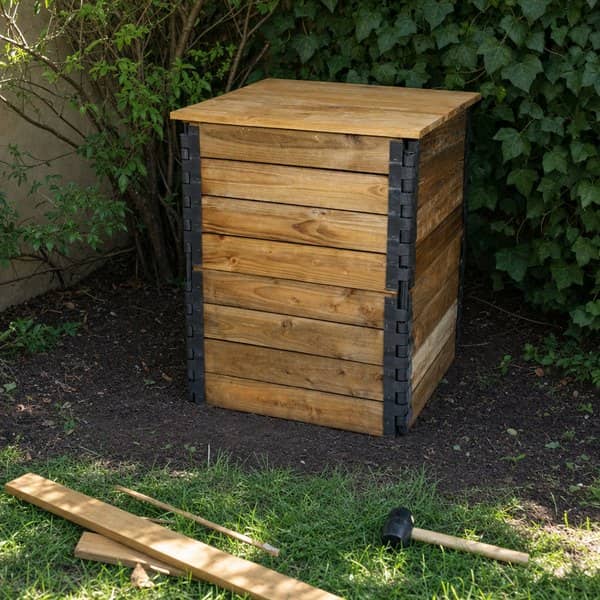
A wooden compost bin lives in tough conditions: constant moisture inside, rain and sun outside. It will always show its age eventually, but a few simple habits will extend its life considerably.
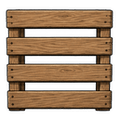 Let it breathe: the space around the bin allows the wood to dry out between rains.
 Don't let the compost overflow over the slats or pile up against them on the outside: wood that's constantly wet rots faster.
 Check the bottom slats every spring: since they sit against damp soil, they're the first to deteriorate. A weakened slat can often be replaced without replacing the whole compost bin.
 If you want to protect the wood, use only a natural product that's safe for the garden, and only on the outside. The inside, which is in contact with the compost, must stay untreated.
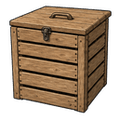 Keep the lid closed during heavy winter rains: it protects both the compost and the wood.
Willy's tipTo harvest without damaging the slats, remove the finished compost through the bottom hatch with a small shovel rather than prying it out with a fork, and load it straight into a cart such as our 55-liter compost collection cart.
If you build your own compost bin from reclaimed boards or pallets, don't use chemically treated, painted, or varnished wood: those products have no place in compost meant for the vegetable garden. For the same reason, painted or varnished wood should never go into the compost bin: take it to your local waste drop-off center.
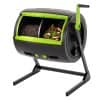
On a slab or patio, the compost gets neither drainage nor the help of the small creatures living in the soil. The liquid runs out and leaves stains, and decomposition is slower. If you really have no other option, spread a few shovelfuls of soil in the bottom of the bin to bring in some life. But on a concrete surface, a rotating composter is often a better fit: we cover it in our guide Rotating composter.
A fork forced against the sides will eventually knock the slats loose. To aerate the compost inside the bin, an aerator that you push in and then twist, such as our Brass'Compost, is gentler on the wood and on your back.
If you go with our Compostys wooden compost bin, install it following these same principles: on bare soil, in partial shade, with a little space all around.
A wooden compost bin lets the compost breathe, evens out temperature swings, and blends nicely into the yard. Choose a size suited to your household and your yard, and assemble it in partial shade, perfectly plumb, directly on the soil so that worms and the small creatures of the soil can come and work in it. Leave space around it, keep an eye on the bottom slats, and never treat the inside. Avoid treated or painted wood, and choose a rotating model if all you have is a concrete slab. With good care, a wooden bin will serve you for many years.
Scan the code or visit mouttafarm.com/guide: all our how-to guides, with links to the products mentioned.



 France
 Belgium
 Switzerland
 Germany
 Austria
 United Kingdom
 Italy
 Spain
 Holland
 Portugal
 Ireland
 Sweden
 Finland
 Denmark
 Greece
 Poland
 Rumania
 Czech Republic